Identity and Access Management
Setting Up Your DataTrails Tenancy
Tenancies and Accounts
Each DataTrails Tenancy represents an organization, and each DataTrails account represents an individual user. There may be multiple accounts within a Tenancy if there are several members within an organization. Additionally, an individual user can be part of multiple Tenancies.
Managing Users in your Tenant
You can manage the users in your tenant from the ‘Users’ tab on the ‘Settings’ page (accessed from the sidebar.)
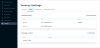
Here you’ll find two panels:
- Manage Users:
- Manage the roles of existing users
- Deactivate users who should no longer have access
- Re-activate users to grant them access again
- Manage Invites:
- Invite new users to your tenant via email
- Delete invites you no longer want to be redeemed
Lets walk through those functions now!
How do I add users to my organization?
You add users to your organization by inviting them via email. This is only possible for administrators, i.e. users with the ‘Owner’ role. Click the ‘Invite User’ button to open the invite window. Here you can enter the email address of the invitee, and if desired, customise a message to be shown in the email.

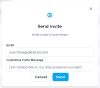
Once the user recieves and redeems this email (using the email address to which it was sent) they will show up in this list and can be managed.
Note: Inviting users can be accomplished with the REST API too:
curl -v -X POST \
    -H "@$HOME/.datatrails/bearer-token.txt" \
    -H "Content-type: application/json" \
    -d '{"message": "Join my DataTrails tenancy!", "email": "user@datatrails.ai"}' \
    "https://app.datatrails.ai/archivist/iam/v1/invites"
See instructions for creating your
BEARER_TOKEN_FILE.
How do I delete an outstanding invite?
Once accepted by an invitee, invites are automatically deleted. However, if you wish to delete an outstanding invite, follow these steps:
- Click the trash icon in the row of the invite you wish to delete
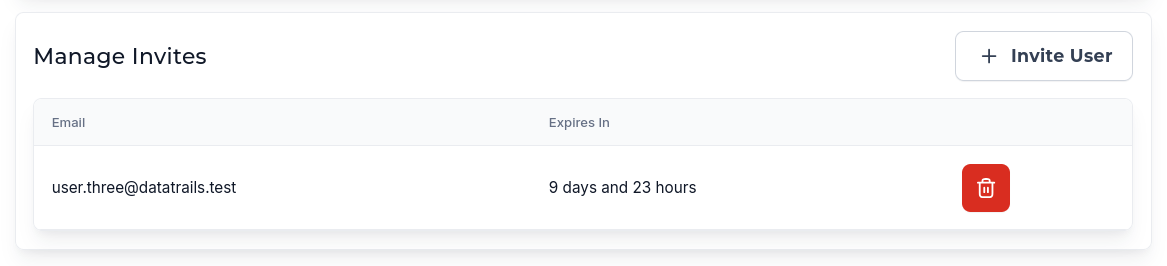
Managing invites - Confirm that you want to delete the invite in question
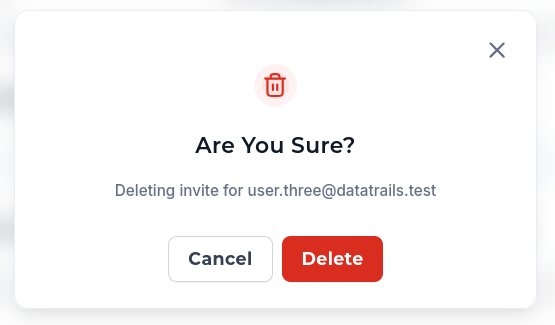
Deleting an invite


How do I modify a user’s access to my tenant?
There are two ways to modify a user’s access to your tenant: Modify their roles or wether they are active. You can modify a user by clicking their row in the ‘Manage Users’ table.
Note:
- You cannot deactivate or demote yourself
- In order to manage deactivated users, tick the ‘Show Deactivated’ checkbox in the top-right
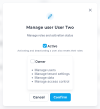
- Click the user’s row in the table
- The following pop-up will appear

Managing a user - To deactivate the user, uncheck the ‘Active’ checkbox. This will prevent this user
from any subsequent logins into the system.Note: De-activating a user removes all roles
- To give this user the ‘Owner’ role, check the ‘Owner’ checkbox. This role makes the user an administrator, giving them the ability to perform any action within the system and see all data.
To re-activate a user, you’ll need to check the ‘Show Deactivated’ checkbox in the top-right corner
and then follow the same steps as for deactivating a user, but checking the ‘Active’ checkbox.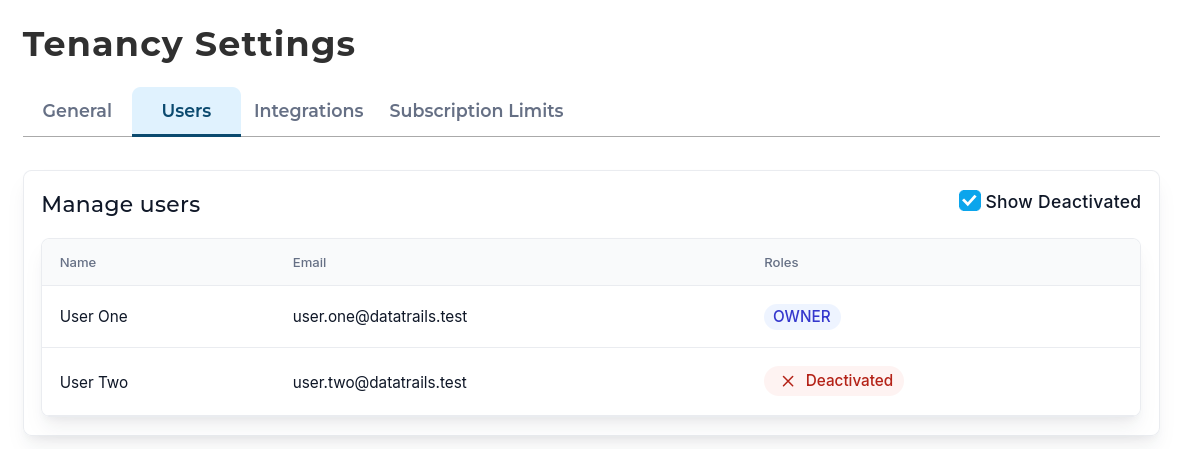

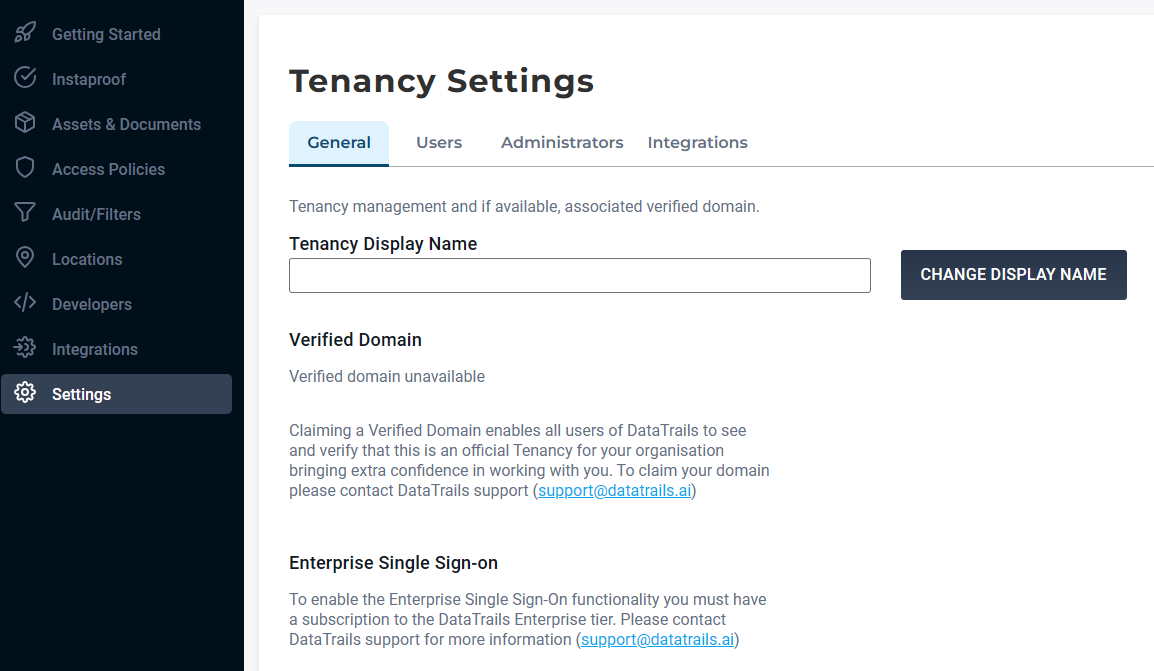
Can I name my tenancy?
Tenant Display Name
There are two ways to name your DataTrails Tenancy. The first way is to add a Tenant Display Name. This name will be displayed only within your own Tenancy, and will not be visible to outside organizations. The display name makes it easy to identify which Tenancy you’re currently working in and to switch between Tenancies if you are part of multiple Tenancies.
To set your Tenant Display Name, navigate to ‘Settings’ from the sidebar and ensure you’re on the
‘General’ tab. Add your desired name, then click Change Display Name.
Verified Domain
The second way to set your tenancy name is to get your domain verified by the DataTrails team. Your verified domain name will be visible to the people you share information with and will be publicly available if you create a Public Asset.
Enterprise Single Sign-On
Enterprise customers may use their preferred Identity Provider (IDP) to sign-on to DataTrails. Before doing so, you must have a Verified Domain.
Navigate to
Settingson the sidebar and selectTenancy.
Enter your SSO configuration, then selectSAVE ENTERPRISE SSO CONFIG. Saving your configuration may take a moment.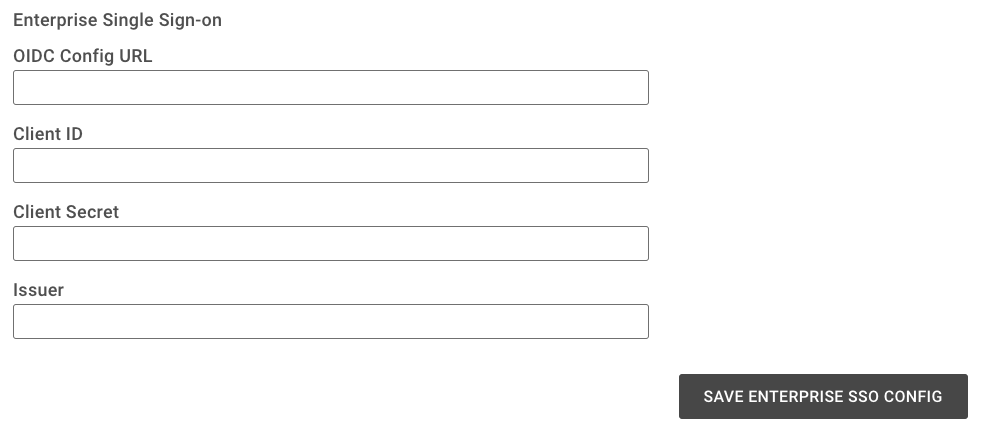
Configure SSO NOTE: To retrieve the necessary data for the configuration form, your IDP must be configured to be compatible with DataTrails. Enter the information below.
Login URI:
https://app.datatrails.ai/loginCallback URL:
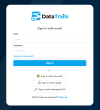
https://b2carchivistprod3.b2clogin.com/b2carchivistprod3.onmicrosoft.com/oauth2/authrespNow that your details are saved, return to the DataTrails sign-in screen. Select the
Single Sign-Onoption
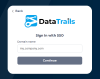
Single Sign-On Enter your Verified Domain Name
You will be sent to the identity provider you configured earlier to log-in, then redirected back to DataTrails.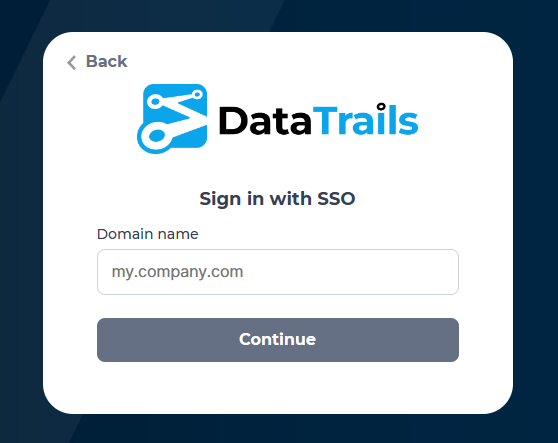
Verified Domain